I have several roller stands that I’ve used to support long pieces of lumber and plywood as I feed them through the table saw. They work, but they’re not without shortcomings. On the infeed side, I have no complaints. I set the stand up with the roller at table height and feed the workpiece through. I do the same with the stand on the outfeed side but if the workpiece is flexible, the leading edge will sag and butt into the roller rather than cross on top of it. It’s an awkward moment when I have the blade whirring and I can’t finish the cut. And crosscutting with the stand out to the side of the table saw is out of the question. Last year I came across a better system, a washer roller. It’s easy to make and for many tasks works better than a roller stand.

Photographs by the author

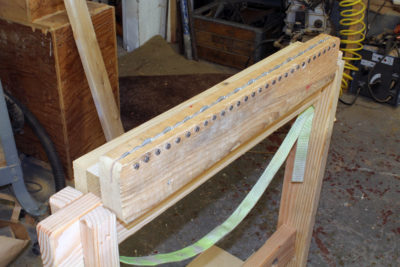
Stacking three washers with the lower two providing a gap for the top washer's hole establishes the spacing for the nails. Walking off the interval with dividers simplifies the process. If you're marking the spacing with a ruler, you can use a more convenient interval if it is a slightly larger spacing.
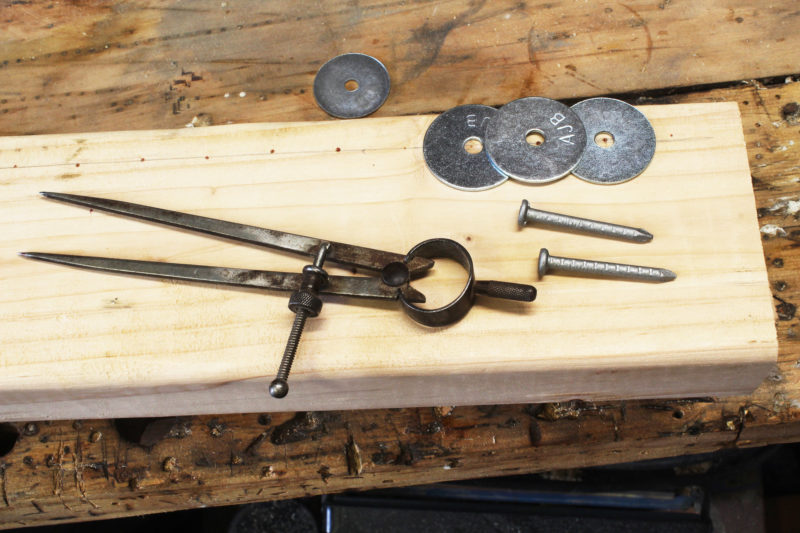
To make one you’ll need a length of common 2×4, fender washers (either 1″ or 1-14″), and 1-1/2″ hanger nails. I made rollers 32″, 22″, and 19″ long. The longest one is the most useful. Start by cutting the 2×4 to length. Then, determine where to drill holes for the nails that the washers will spin on. Hold a washer on the side of the 2×4 with about ¼″ of it extending past the edge. Mark the hole. The circle will be larger than the hole you’ll drill for the nail; the top of the hole will be at the top of the circle. Mark the center point for the drill and draw a line through it parallel to the edge of the 2×4. Set two washers side by side and a third on top. Move the pair apart until the hole of the top washer no longer overlaps the washer beneath it. Measure the distance between the holes and with a divider set at that distance, pace off the locations of the holes along the line on the 2×4. Pressing the point of the divider into the wood will help center the drill bit, especially if you’ll be using a handheld drill. A 5/32″ bit will make holes just big enough for the hanger nails to be pressed in my hand. Drill the holes, stopping just short of going through the 2×4.

Read this article now for Free!

Ready for a second free article? Create a free account by entering your email address and a password below.

— OR —

Subscribe now for $29.99 a year and have immediate access to all of our content, including hundreds of small-boat profiles, gear reviews and techniques, adventure stories, and more! You can also browse our entire archive of back issues starting from September 2014, as well as post unlimited classified ads. This is an extraordinary value!